6,49 €
Mehr erfahren.
- Herausgeber: Stephen Fleming
- Kategorie: Lebensstil
- Sprache: Englisch
Do you believe in the saying, “The best person to guide you is the one few steps ahead of you!”?
While doing my Engineering, I realized this fact that just before the exam if you require minimal, to the point, useful and applicable information to pass the examination, your friend/colleague who has gone through the subject and appeared for the exam just last week is the best Go to Person.
That person may not be the SME (Subject Matter Expert) like the professors teaching for years but is the best bet to solve your immediate problem.
So are you a beginner in Pyrography or Wood Burning & looking for a friend and colleague for informal guidance? Your search for that colleague ends here. I sincerely want to take you through that first step and prepare you for your first Pyrography Project!
Why Pyrography?
Of all the crafts I have practiced, Pyrography is the most value for money. It gives me immense satisfaction and serves the purpose for which I practice the art on the weekends. (i.e., to unwind from my regular job)
The best part is this art has got something for everyone.
If you are a beginner, get a scrap wood and use your existing soldering pen to start the artwork. Later, you can shift to a proper burner. If you like calligraphy, you can burn letters. A friend of mine is a space enthusiast, and he is making space ships!
With experience, you master the art of shading, which gives depth to the artwork. Drawing hair, fur, or skin of an animal takes time, but it is worthwhile to put the effort.
What I love about this skill is that it makes one of the best presents for the loved ones. As the art ages with time, it leaves a memorable piece of history to your loved ones.
About the Book
It is not a traditional book but an effort from your friend to present the experience and discussions while learning this art in the last few years.
I have made many wood and leather burning projects over the years and interacted with fellow crafters. This book is the crux of all those learnings and experiences over the years.
This book provides a minimalistic approach to the information required to start your first Pyrography project. It covers:
- Introduction to the art: The history and steps involved
- Tools: All about tools involved: Detailed instructions on using Wood Burner including different tips
- Designing, Tracing, and Shading: I must say the shading part only comes by practicing!
- Coloring, Polishing, and Finishing
- Safety Instructions: Very important and highlighted all through the book
- Step by Step instructions on 10 starter projects with pictures
- Frequently Asked Questions (All the ones I could remember and not covered in other chapters)
- Sample Designs: Mandala, Tiger, Dragon, and more.
This book is for people who are in their first lap of Pyrography journey and want to have a holistic idea of processes, tools, and need help in their initial projects.
I have included photographs of realistic projects of beginners explaining the process and standard operating procedure while starting.
So, what are you waiting for? Get this updated book and start your Pyrography Journey Today!
Das E-Book können Sie in Legimi-Apps oder einer beliebigen App lesen, die das folgende Format unterstützen:
Veröffentlichungsjahr: 2020
Ähnliche


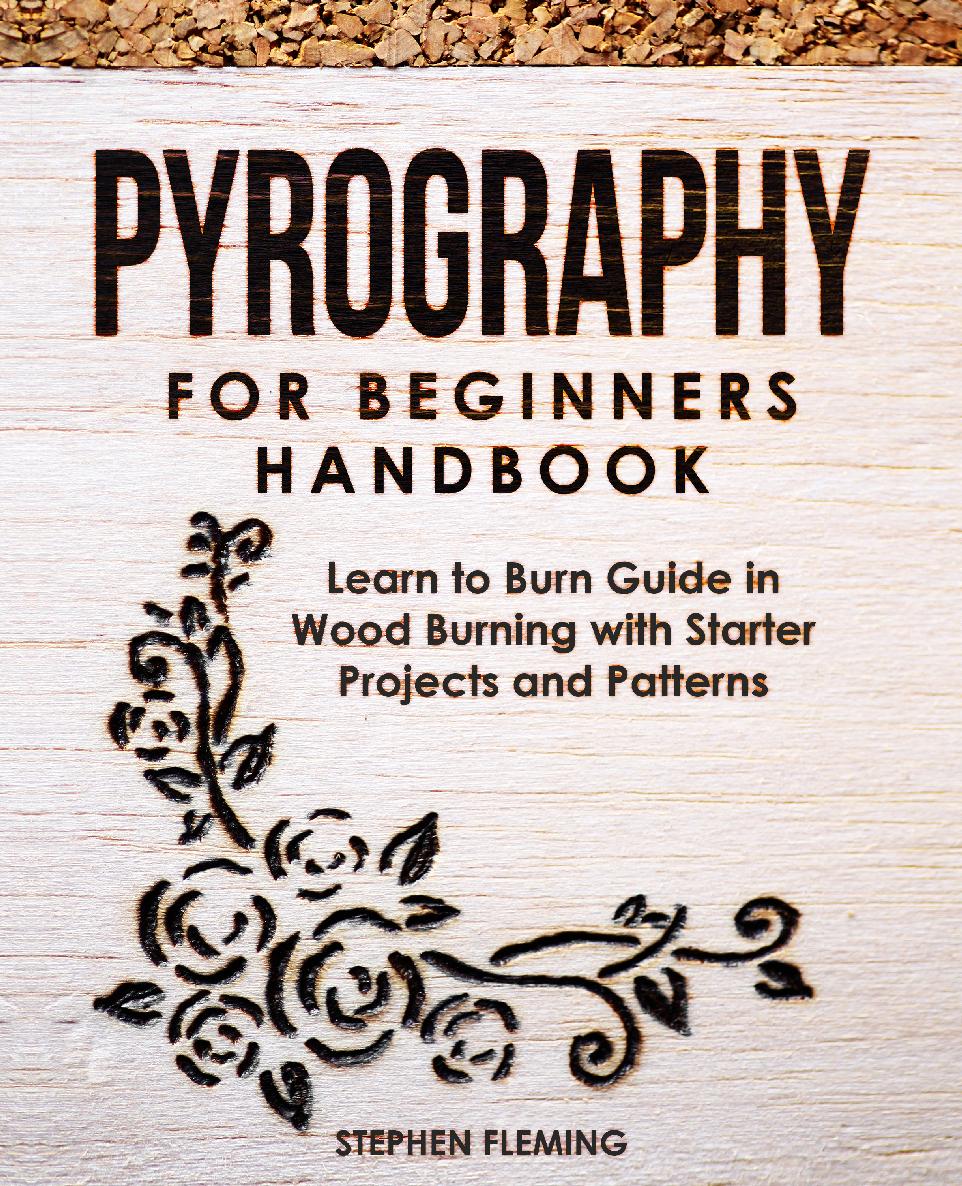
Pyrography for Beginners Handbook
Learn to Burn Guide in Wood Burning with Starter Projects and Patterns
Stephen Fleming
© Copyright 2020 - All rights reserved.
The content contained within this book may not be reproduced, duplicated, or transmitted without direct written permission from the author or the publisher.
Under no circumstances will any blame or legal responsibility be held against the publisher, or author, for any damages, reparation, or monetary loss due to the information contained within this book. Either directly or indirectly.
Legal Notice:
This book is copyright protected. This book is only for personal use. You cannot amend, distribute, sell, use, quote or paraphrase any part, or the content within this book, without the consent of the author or publisher.
Disclaimer Notice:
Please note the information contained within this document is for educational and entertainment purposes only. All effort has been executed to present accurate, up to date, and reliable, complete information. No warranties of any kind are declared or implied. Readers acknowledge that the author is not engaging in the rendering of legal, financial, medical, or professional advice. The content within this book has been derived from various sources. Please consult a licensed professional before attempting any techniques outlined in this book.
By reading this document, the reader agrees that under no circumstances are the author responsible for any losses, direct or indirect, which are incurred as a result of the use of the information contained within this document, including, but not limited to, —errors, omissions, or inaccuracies.
Bonus Booklet- DIY Series
Thanks for purchasing the book. In addition to the content, we are also providing an additional booklet consisting of Monthly planner and Project Schedule template for your initial projects.
Also, it has a few evergreen patterns for your practice.
Download the booklet by typing the below link.
(* Note: This booklet is common for wood and leather crafts)
http://bit.ly/leatherbonus
Cheers!
Copyright © 2020 Stephen Fleming
All rights reserved.
Table of Contents
#
Chapter Name
1
Introduction to Pyrography
2
Pyrography Tools
3
Designing, Tracing, and Shading
4
Coloring, Polishing, and Finishing
5
Safety and Health Concerns
6
Starter Projects in Pyrography
7
FAQ's From Practitioners
8
Some Sample Designs and Patterns
PREFACE
This is the second book in my DIY series after the Leatherworking Starter Handbook.
Of all the crafts I've done, Pyrography offers the most value for money. It gives me immense satisfaction and serves my creative purposes for practicing art on the weekends.
The best part is this art provides something inspiring, imaginative, and empowering for everyone.
If you're a beginner, get a scrap wood and use your existing soldering pen to start the artwork. Later, you can shift to a proper burner. If you like calligraphy, you can burn letters. A friend of mine is a space enthusiast, and he's making spaceships!
With experience, you can also master the art of shading, which gives depth to any artwork. Drawing hair, fur, or skin of an animal takes time, but it's worthwhile to put the effort. The best part of this skill is that it makes one of the best, personalized presents for the loved ones. As the art ages with time, it leaves a memorable piece of history to the future generation.
This isn't a traditional book but an effort from your friend to present the experience and discussions while learning this art in the last few years (4 years to be precise). I'm not an expert (there are many we know who are just fabulous and doing it for more than 10 years) but only a passionate, dedicated learner improving with each project.
But more importantly, if you're merely starting, I can provide you the exact practical information you're seeking because the best person to guide you is the one just a few steps ahead of you!
Finally, I've included realistic photographs, discussions, and tips received my journey in Pyrography over the years. Also, one chapter is dedicated explicitly to safety measures while burning as it's of the utmost importance.
Cheers, and let's start the transformative journey!
Stephen Fleming
Some Words of Wisdom from Pyrography Practitioners
As a beginner, I initially had the misconception that if I pushed harder into the wood, it’d make a darker burn. That’s totally false!
The best advice given to me has been to glide over the wood with the tip. Earlier, I was adding too much pressure and was digging into the wood as I burned in my picture.
Also, make sure before you start to sand, sand, and sand the wood!
Before burning the cutting board, make sure there isn't a stain on it because it can be toxic to burn over the stain.
Spend some time each day working on your art. Practice regularly.
Type of burner depends on how you like to hold your burner. If you don't mind being 3-4 inches away from your wood, then a Walnut Hollow Versa tool is useful; but if you want to hold the pen like you would a pencil, then you may use * Optima I burner/Razertip(* Different models of burners burning pen).
I've learned to use the shading tool at a low temperature and go lightly over the wood in layers.
For tracing the diagram on the wood, use graphite paper since it's easier to erase if you make a mistake.
Make sure when you trace it on, use a light hand. Remember to let the tool do the work and don't press too hard.
This hobby isn’t cheap. When you get a pen, you’ll need wood pieces, sanding device/tool/pads for the best result of burning, and then you require a coating or vanish substance to protect the pieces ’you've done. The next thing is how and where to sell them. You might think that you’ll merely do this hobby for giving away as gifts or charity, but when you reach the point that there are so many burnt pieces at your house, you might think about how to sell them.
But one thing that you have to be sure is you love the craft. Then only investing in tools and wood would be fruitful.
1. Introduction to Pyrography
What's Pyrography? Brief History and Introduction
Definition as per Wikipedia: (Refer: https://en.wikipedia.org/wiki/Pyrography)
"Pyrography or pyrogravure is the freehanded art of decorating wood or other materials with burn marks resulting from the controlled application of a heated object such as a poker. It's also known as pokerwork or wood burning. The term means "writing with fire," from the Greek pur (fire) and graphos (writing)."
Below is one of the oldest Pyrography images:
Brunhilde Asleep, 1902, Reference: Margaret Fernie Eaton [Public domain]
Pyrography is an art of burning of sketches or drawings right into the timber. Color is often added with oil pencils after the burning is completed, but it's typically maintained to a minimum. Although some skill is needed, great art pieces are mostly made with practice, and also one will certainly learn their own style and tool with time.
The ancient people began to create their wood-burning tools as they progressed. The first tool was made of portable pots with holes. Pokers were inserted in the holes. The pioneers used the pokers to burn the wood. It was a dangerous and challenging tool to use. Hence, wood-burning was limited to only those who knew how to operate it. During medieval times, the people discovered that when they heated metal objects, they could use it to burn and design the woods. They first used it to design simple objects in their homes, like wooden spoons and bowls. It became an excellent hobby for many rich people. Some people from medieval times, especially blacksmiths, then made it into commercial art.
Commercial opportunities from the upgraded wood burning tools:
Aside from making swords and armors, they also began decorating containers and chests with intricate Pyrography designs. The modern wood burner used today was only discovered during the early 20th century. The tool was initially used to solder metals. It was easier to fuse metal using an electronic solder than doing it manually. However, wood burning craftsmen discovered that they could also use the same instrument to draw wood designs better. The tool was smaller and was easier to control than the traditional pokers they used. As a result, manufacturers of metal solders soon included different points, sizes, and nibs to increase the variety and possibility of designs. The discovery of the new tool gave ordinary people a chance to learn wood burning in a faster, easier, and safer way.
The interest in wood-burning increased, especially in Asian and European countries, because of this advancement. Chinese and European creators would mark or personalize their chests and leather bags through Pyrography. In recent years, the interest in wood-burning had significantly increased. Wood burning machines have also advanced, and companies can now mass-produce wood burning crafts at a lower price. But, the advancement of wood-burning devices doesn't stop the interest of hobbyists and artists who want to have hand-made wood burning decorations with rich, intricate, and original designs.
The threats involved with Pyrography are mentioned below:
Burning self with the iron
Burning anything else that ought to not be burnt (a lot of pencil design irons has no "off "button with the iron, as well as no "on" sign lamp)
Getting sawdust into the eyes.
Improperly using wood and asphyxiating one's self.
The equipment and also materials we'll be utilizing consist of:
A pyrographer's iron( Solid point Burner, Wire Nib Burner or Laser Burner)
A steel stand for the iron
A basic multi-faced tip for the iron (as you become skilled, you can add specialized tips)
Some sandpaper (150-180 great grit, so a light sanding is needed, 80-100 tool grit if some ridges require eliminated from the wood). It's best to wear some eye security when doing any sanding of timber.
Some carbon paper may be available in helpful in addition to a sketchpad, and mapping paper is handy as well
A well-ventilated job location.
Wood
Some oil-based tinted pencils
Steps for Pyrography
Below are the sequential actions for completing a Pyrography project.
Prep work.
The first step is to prepare the timber for a clean and even burn. If the Basswood is a bit harsh, take some 80-100 grit sandpaper to it (utilize a fine sand block to keep it even). If the timber isn't extremely bumpy, review it with the 150-180 grit sandpaper to obtain a smooth surface.
This is where you require the shatterproof glass or goggles to avoid obtaining splinters of wood in your eye(s). Blow off the dust. Next, we need an illustration or sketch.
The Sketch
Sketch up whatever you want to burn onto the timber on some tracing paper. It isn't required to make it overly outlined at this moment; however, if you wish to include the details for yourself while burning, proceed. As soon as this is completed, position the carbon paper on the timber (put the carbon side down), and the tracing you did over it as you want it to appear on the timber (as you improve with the iron or if you have the ability to make decent sketches straight onto the wood, these steps can be avoided). Backtrace the diagram (major lines) so that a light carbon copy is drawn on the wood.
Draw it directly Trace it using carbon paper
Action 3: Fire up the Iron
Now, after doing away with the carbon paper (some of it can be a little bit exhausting), we prepare to start the next step: If you haven't positioned your iron on the "stand" and connected it in yet, please do so. Wait a couple of minutes while it warms up. If you have a scrap item of timber close by, you can occasionally examine it by holding the tip to the wood momentarily. If it burns immediately, then it implies that the iron is ready.
Grasp the iron strongly, much like a pencil is held. Don't "suffocate" your iron. It'll undoubtedly make it harder to burn correctly, and also ultimately, you'll "feel the heat" of the iron. The picture should offer a close estimate of how to hold the iron "a lot of the moment." There will be times you'll have altered the grasp to obtain the effect you want.
Wood Burning Kit
Action 4: Getting a Real Start into Pyrography
In the beginning ensure to gently "glide" the pen, as well as not try to "push it" (some people like to burn from the top to down, others like to center out; whereas I like to do the overview first and then decide which way to follow ). Our tip offers many usages: a point, for fine work, a "blade side" for the sketch, and a level side for area burning; that is, for burning or shading a bigger area each time.
Begin gradually yet not too sluggishly (it's best to do a little bit of practicing on smaller sized, less costly items of wood) maintaining your "speed" or holding your iron consistently.
You'll certainly realize that there's much too either draw towards yourself or from side to side; everyone seems to have their preference (although you might need to do both at times). Turning the wood is far better than attempting to "push" the iron. Complete the outline and the major parts of the drawing/carbon image and then take a couple of minutes to look at it. It is like the monitoring of the structure.
Simple Wood Burning – Honeybee Coloring Wood
Yet also bear in mind, sometimes way too much detail can spoil an otherwise fantastic item.
You'll soon discover with practice when to stop (possibly after spending several hours on an item, and afterward placing one "last" touch, ruins the entire point - it happens to the best pyrographers, so it'll most definitely happen to you as well).
Action 5: Completing the spaces/gaps
Shading, filling up, and also too much information must also be prevented when just beginning to discover this art form. As you improve later, you'll wish to "feather," shade, add depth, and also add many various other details. There are special tips out there to assist with these works.
Shading Technique
However, these aren't initially required. The one tip I've used more of than any is the detailing tip. It wears down quickly and soon you're virtually shading without any tip at all.
Step 6: Maintain clean tools
Some recommendations: If the tip gets too stained, it definitely won't heat up well. However, extreme cleaning of tips wears them down much quicker.


