7,49 €
Mehr erfahren.
- Herausgeber: Stephen Fleming
- Kategorie: Lebensstil
- Sprache: Englisch
Suppose you have to appear for the exam next week, who would be the go-to person for seeking help and guidance?
Option 1 : A Subject Matter Expert (SME) who studies / teaches the subject for several years and often assumes that the basics are covered or looks at it from their frame of reference.
Or
Option 2 : Someone who also started from scratch as you have and passed the exam just last week. He / She knows the exact process, challenges, challenges, and roadblocks you may be facing and can think from your perspective.
If your option is 2, you're in the right place.
My leathercraft journey in the year 2014. I have already completed my first project after four months.
I was confused and lost in the magnitude of information available online. I firmly believe that when you start, you need, minimalistic information to start your first project, pardon: Complete your first project!
So I started writing this book to provide a minimalistic approach to your first leather project. It covers:
- History of leather
- Basics Tools and their use
- Making Patterns
- Cutting Patterns
- Gluing
- Beveling, Embossing, Stamping
- Stitching basics
- Coloring and Finishing
- Tips, Techniques for the beginner
-Leather Crafting, Physical Pain & Ergonomics * (New Chapter added!)
- Appendix: List of online resources available for free patterns, tips, and techniques .
I had the tips that helped me.
This book is for people who are in their first lap (0-3 years) of Leather crafting journey and want to have a holistic idea of processes, tools, and need help in their initial projects.
I have included photographs of realistic projects.
So, what are you waiting for?
Get this updated edition of the book with 22 chapters and start your Leather Crafting Journey Today !!
Das E-Book können Sie in Legimi-Apps oder einer beliebigen App lesen, die das folgende Format unterstützen:
Veröffentlichungsjahr: 2020
Ähnliche


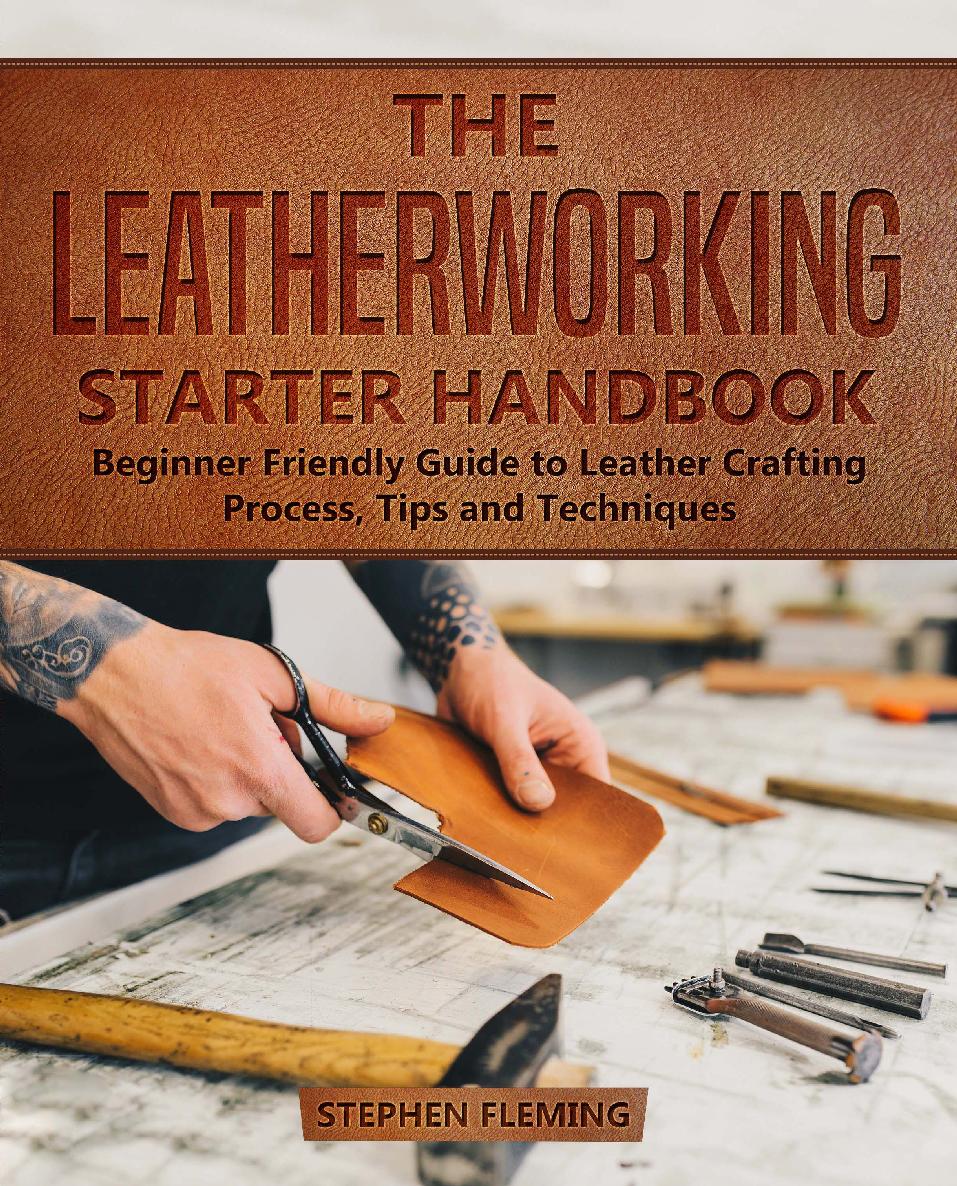
The Leatherworking Starter Handbook:
Beginner Friendly Guide to Leather Crafting Process, Tips and Techniques
Stephen Fleming
Revised Edition April 2020
Bonus Booklet
Thanks for purchasing the book. In addition to the content, we are also providing an additional booklet consisting of Monthly planner and Project Schedule template for your first project.
Also, it has five evergreen patterns for your practice.
Download the booklet by typing the below link.
http://bit.ly/leatherbonus
Cheers!
Copyright © 2020 Stephen Fleming
All rights reserved.
.
Table of Contents
#
Chapter Name
1
Introduction to Leather Crafting
2
About Leather
3
Leather Crafting Tools
4
Drawing Leather Patterns
5
Gluing
6
Leather Cutting
7
Gouging and Folding Leather
8
Making Sewing Holes
9
Stitching
10
Leather Hardware
11
Casing
12
Basic Leather Stamping
13
Basics of Carving
14
Swivel Knife Essentials
15
Beveling Basics
16
Tooling an Oak Leave
17
Embossing
18
Coloring and Finishing
19
Leather Edge Finishing
20
The First Project
21
Leather Crafting, Physical Pain & Ergonomics
22
Appendix
PREFACE
While starting Leather Crafting way back in 2014, I was desperately looking for a go-to guide about the processes and the tools involved.
The online content was information overload and not presented in a step-by-step manner. The books I referred were either focused on a few processes or assumed that I had the necessary information. Also, I found that most of the books were a little outdated.
There are two ways of learning; one is learning from subject matter experts who have years of experience or learning from people who are just a few steps ahead of you in their journey.
I am the latter. Five years into this hobby, and I’m still learning from the experts.
I still remember the initial doubts I had and the tips which helped me.
This book is for beginners (0-3 years) of the leather crafting journey who want a holistic idea of processes and tools and who need help in their initial projects.
Included are photographs of realistic projects by beginners explaining the process and standard operating procedure while starting.
In the Appendix, I have provided a list of online resources available for free patterns, tips, and techniques.
Cheers, and let’s start the journey.
Stephen Fleming
1. Introduction to Leather Crafting
Tips for Beginners
All the knowledge you gained after watching how-to videos is meaningless until you pick up the tools and get on with your first project.
If possible, take a class/session (online or offline) to see if this hobby is for you before investing cash into it.
Learn the basics initially (pattern transfer, wetness monitoring, swivel knife control, etc.).
Don't over complicate every little thing.
Failures and stress will undoubtedly happen at some point. Remember, in the beginning, the leather beats you more often!
Do not hesitate to ask questions, no matter how silly they seem.
Before asking a question, check first to see if it’s already been asked and answered by someone online or offline. (Do your homework)
You don't always need the latest as well as the most expensive tools. Bear in mind that a great device costs a couple of additional dollars (3 to 5 times the cost of essential tools), however, the high-end tools are typically ten or twenty times the price of the basic tools. The most expensive tools do not come with talent or experience. Choose carefully as per your budget.
As you grow in the craft and are ready to spend more, upgrade your tools. Buy them as they are needed. Do not be that person that acquires everything upfront and never makes use of fifty percent of it.
Beginner’s Roadmap
Step 1: Decide with which type of leatherwork you intend to start your journey
Do you want to learn fine-tuned European design, Western Americana techniques, or a rustic type of leatherwork? Each of these approaches requires different tools and methods, depending on what you're looking for in your finished product.
Are you only looking to build a standard leather bag or purse, or would you also like to add a wow factor such as slanted stitches that require an intermediate level of craftsmanship?
So, decide the style and level of expertise you would like to achieve in your first phase of learning.
Even better, figure out the projects you would like to work on initially. It would help you to be more focused during the learning process.
Step 2: Find out the tools you'll need for your type of leatherwork.
Once you decide what sort of leatherwork you intend to craft, you should obtain the right tools for the work.
The tools vary with the type of leatherwork you choose for your initial projects.
In the case of rustic leatherwork, you can make use of a lot of in-house tools. However, for more finished artwork, you would need a sewing clam or pony as well as sewing knives to create those ideal stitches.
Step 3: Identify what you want to make and obtain the appropriate leather
Once you decide on what you plan to make, you can identify what kind of leather suits your project. Two of the most common leathers are chrome-tanned leather and veg-tanned leather.
These two types of leather have several distinctions consisting of how they're tanned, the kind of colors they can acquire, and their amount of flexibility and softness.
If, for example, you're making a belt and you prefer heavy veg-tanned leather, choose a minimum of 7oz weight leather instead of chrome-tanned leather, which would be soft and flexible and would stretch after some time.
Step 4: While doing saddle-stitching use a premium linen thread
Making use of better materials is most likely to give you the desired outcome. Also, when the process involves stitching, which is very crucial and takes a lot of time and effort, it is suggested to use all-natural linen thread, which is durable and used traditionally.
Step 5: Practice and master the technique
When it comes to leatherwork, it's all about learning the basic steps and following each step carefully.
Make sure that you are following the sequential steps for the desired outcome.
For instance, if you're looking for a refined and professional look, then make sure you are following sewing standards and also doing the edge finishing! Edge finishing is the step where you make use of wax and burnish your edges, so they're smooth as well as polished looking.
Step 6: Have fun with traditional leather craft!
The art of leatherwork, pyrography, and whittling belongs to a time when we were in the non-digital world. The aim was to spend quality time and make something creative.
So enjoy the craft, spend time with your loved ones by involving them, and yes, keep your mobile phones at bay!
TOP 3 BEGINNER PITFALLS: DON'T FALL INTO THEM!
Mistake # 1 - Buying the pre-assembled toolkits.
I have seen people getting excited and buying a pre-assembled kit online without doing proper research about their requirements. In many cases, these tools are of low quality, bent, and broken after a few days of use.
Usually, these kits contain poor-quality tools along with tools that you don't need.
Therefore, the key initially is having less but high-quality tools.
Mistake # 2 - Getting leather when you do not have a project in mind.
It is similar to getting ingredients without having a meal in mind.
First, decide what item you will be making for your first project and then buy/arrange the leather accordingly.
When buying leather from any reputed shops in your area, ask the salesperson about the best-suited leather for your particular project.
Mistake # 3 - Making the process more complex
I see a lot of beginners getting caught up in buying lots of creams and power devices for finishing the leatherwork.
I still have around 20 devices in my toolkit, and half of those devices are standard and useful things that are lying around your house like an X- Acto blade, sandpaper, and a hammer.
The charm of typical leatherwork is that you're utilizing standard hand tools as well as techniques that have been around since simpler times! So, maintain it easily and also enjoy it.
2. About Leather
History of Leather Crafting
Tanning circa 1880
(By Anonymous artist - http://www.digibib.tu-bs.de/?docid=00000286, Public Domain, https://commons.wikimedia.org/w/index.php?curid=981570)
Leather making is an old art that has been practiced for more than 7,000 years. Throughout the Middle Ages, the Arabs protected the art of leather making and enhanced it. Morocco, as well as cordovan leather (from Córdoba, Spain), became very treasured natural leathers. By the 15th century, natural leather sun tanning was prevalent in Europe, and, by the mid-19th century, power-driven pieces of equipment did procedures such as fleshing, dehairing, as well as splitting.
Natural leather has been a part of human culture, considering that in pre-historical times, animal hides were more than likely the initial material used by our ancestors for garments or shoes. Virtually any kind of animal hide can become leather, including the skin of some fish!
The most typical animals utilized for leather are usually huge animals, frequently cows, sheep, deer, or buffalo.
Tanned leather in Marrakesh
(By DonarReiskoffer, CC BY-SA 3.0, https://commons.wikimedia.org/w/index.php?curid=458235)
Unfortunately, raw animal hides will certainly rot or harden if left untreated, so very early artisans had to find a way to keep the hides soft and also pliable by treating or tanning them with all-natural chemicals. Remarkably enough, some of the very best compounds for tanning animal hides ended up being other parts of the animals themselves, such as the fat, bone, brain, urine as well as marrow!
Leather was necessary for both Egyptian and Roman societies where more advanced methods of tanning and making use of oils, minerals, and plants were being done. The paintings discovered in some Egyptian tombs that depict leather manufacturing and undamaged items of leather have been located buried with the pharaohs. In Rome, tanning was so efficient and useful that even the common people, not just the wealthy, might pay to buy natural leather. A version of the high laced leather shoe worn by Roman legislators is still part of our modern-day style culture today!
In the early 14th - 18th centuries, tanning was a proficient craft controlled by guilds. Working as a tanner was still a ruthless, smelly job that required a great deal of manual labor. In the late 1700s, tanning started to turn into a bigger manufacturing operation; however, it had not been until the exploration of the chrome tanning technique in 1858 that the industry truly changed.
Chrome tanning, which is a mineral tanning technique that utilizes chrome salts as the main tanning ingredient, decreased tanning time from 8 weeks to a few hours! This extreme process, together with the development of new equipment for handling natural leather, quickly put most little independent tanneries out of business as well as transformed tanning into big-time manufacturing. Old techniques of tanning are preserved in places like Morocco where tanners still utilize ingredients like wastewater, pigeon, as well as Lyme dung to tan hides, as well as essences from plants like henna, mint, indigo, and poppy to develop attractive bright dyes.
The tradition of leatherwork in North America is, to a huge degree, tied to the society of the American West. Natural leather was a crucial material for pioneers, cattle-herders, and Indigenous Americans alike, who typically lived far from a source of manufactured cloth, yet close to an abundant supply of animal hides. These cultures developed a distinct aesthetic for leatherwork, which was typically a synthesis of early American and indigenous creative traditions.
Today, 80-85% of natural leather is chrome tanned in big industrialized manufacturing facilities, but there are still smaller sized tanneries producing veg-tanned leather also. Leather is used for many purposes in the modern world, and it also played an important role in the fashion of diverse cultural movements. From bikers and punks to cowboys and socialites, many demographics can claim leather as an integral part of their sartorial identifications.
There is still a growing number of hobby leatherworkers in America, as well as increasingly more modern developers and artisans trying out leatherwork and establishing new strategies and also new looks. Laser cutting, which has resulted in a great deal of exciting and very complicated designs, works well with natural leather. Investigating some of the possibilities will undoubtedly get you a lot more thrilled about working with natural leather!
Famous Tannery Chauara
Leather Categories
There are three fundamental points you need to consider when you are looking for natural leather: What kind of natural leather it is, how thick it is, and just how large it is. Understanding how natural leather falls into these categories will certainly help you find the right fit for your project.
Leather Kinds
Chrome Tanned leather has already been colored and finished throughout production. It is tanned using chemicals like chromium sulfate, which reduces the tanning procedure as well as makes it possible to create leather with more diverse shades and also coatings.
Chrome tanned leather does not take extra sculpting, marking, tooling, or dyeing the way veg-tanned natural leather does, and also it will not be warped by water in the same way. Chrome tanned natural leather is used to create the majority of the leather products you see, specifically garments, purses, and also furniture.
Veg Tanned natural leather has not been dyed or completed in the tanning procedure and can also be tooled, stamped, carved, molded, and dyed. Veg tanned natural leather is tanned using natural tannins that are located in raw materials and are generally a light off-white or flesh tone, the all-natural color of the leather (though you can locate some veg tanned hides that have been pre-dyed).
Veg tanned natural leather is mainly used in hand leathercrafting like natural leather sculpting, shield, saddlery, shoemaking as well as bookbinding. Also, it normally calls for coloring and sealing to finish the item.
Rawhide is an animal hide that has been de-haired and treated, but not tanned. Rawhide is a stiff, semi-transparent product that needs to be placed in water to become versatile. It becomes inflexible as well as holds its shape once it dries. It is used to make drumheads, water containers, moccasin soles, and also parts of saddles.
Leather Weight
The density of a leather hide is measured in ounces (oz). One oz amounts to 0.4 mm or 1/64 inch. A lot of the leather we will be discussing in this book will be between 4-8 oz.
When shopping for leather, look for the weight you need for your project.
There are tools you can get to determine the leather density. However, they are expensive. Alternately, you can use calipers or a scale for a somewhat less exact dimension.
Hide Dimension as well as Component
Hides are divided into pieces that are often sold separately. Different parts of a hide can be much better for various jobs.
For example, if you wanted to use the raw shaped side of the leather for a rustic appearance, a tummy area would certainly be better than a bend.


