Erhalten Sie Zugang zu diesem und mehr als 300000 Büchern ab EUR 5,99 monatlich.
- Herausgeber: Quintessence Publishing Co, Inc
- Kategorie: Fachliteratur
- Sprache: Englisch
When dental students are first taught how to wax teeth, they need clear instructions with logical steps and plenty of illustrations. With the omission of any distracting information about dies, crowns, bridges, and occlusion, this concise book is squarely directed to first-year dental students and can be used as a primary laboratory manual. The author covers the basics of wax instrumentation and addition, but the bulk of the book details the steps for waxing incisors, canines, premolars, and molars. Each chapter includes an introductory waxing exercise for the tooth type, followed by the key points of morphology for the tooth in question. Photographs detail the waxing steps for both a maxillary and a mandibular full crown on a tooth peg and show how the wax-up should mimic the contralateral tooth in terms of dimension, embrasures, heights of contour, line angles, and point angles. The logical and straightforward protocols in this book will help dental students quickly improve their waxing skills and reach expected goals.
Sie lesen das E-Book in den Legimi-Apps auf:
Seitenzahl: 108
Veröffentlichungsjahr: 2018
Das E-Book (TTS) können Sie hören im Abo „Legimi Premium” in Legimi-Apps auf:
Ähnliche


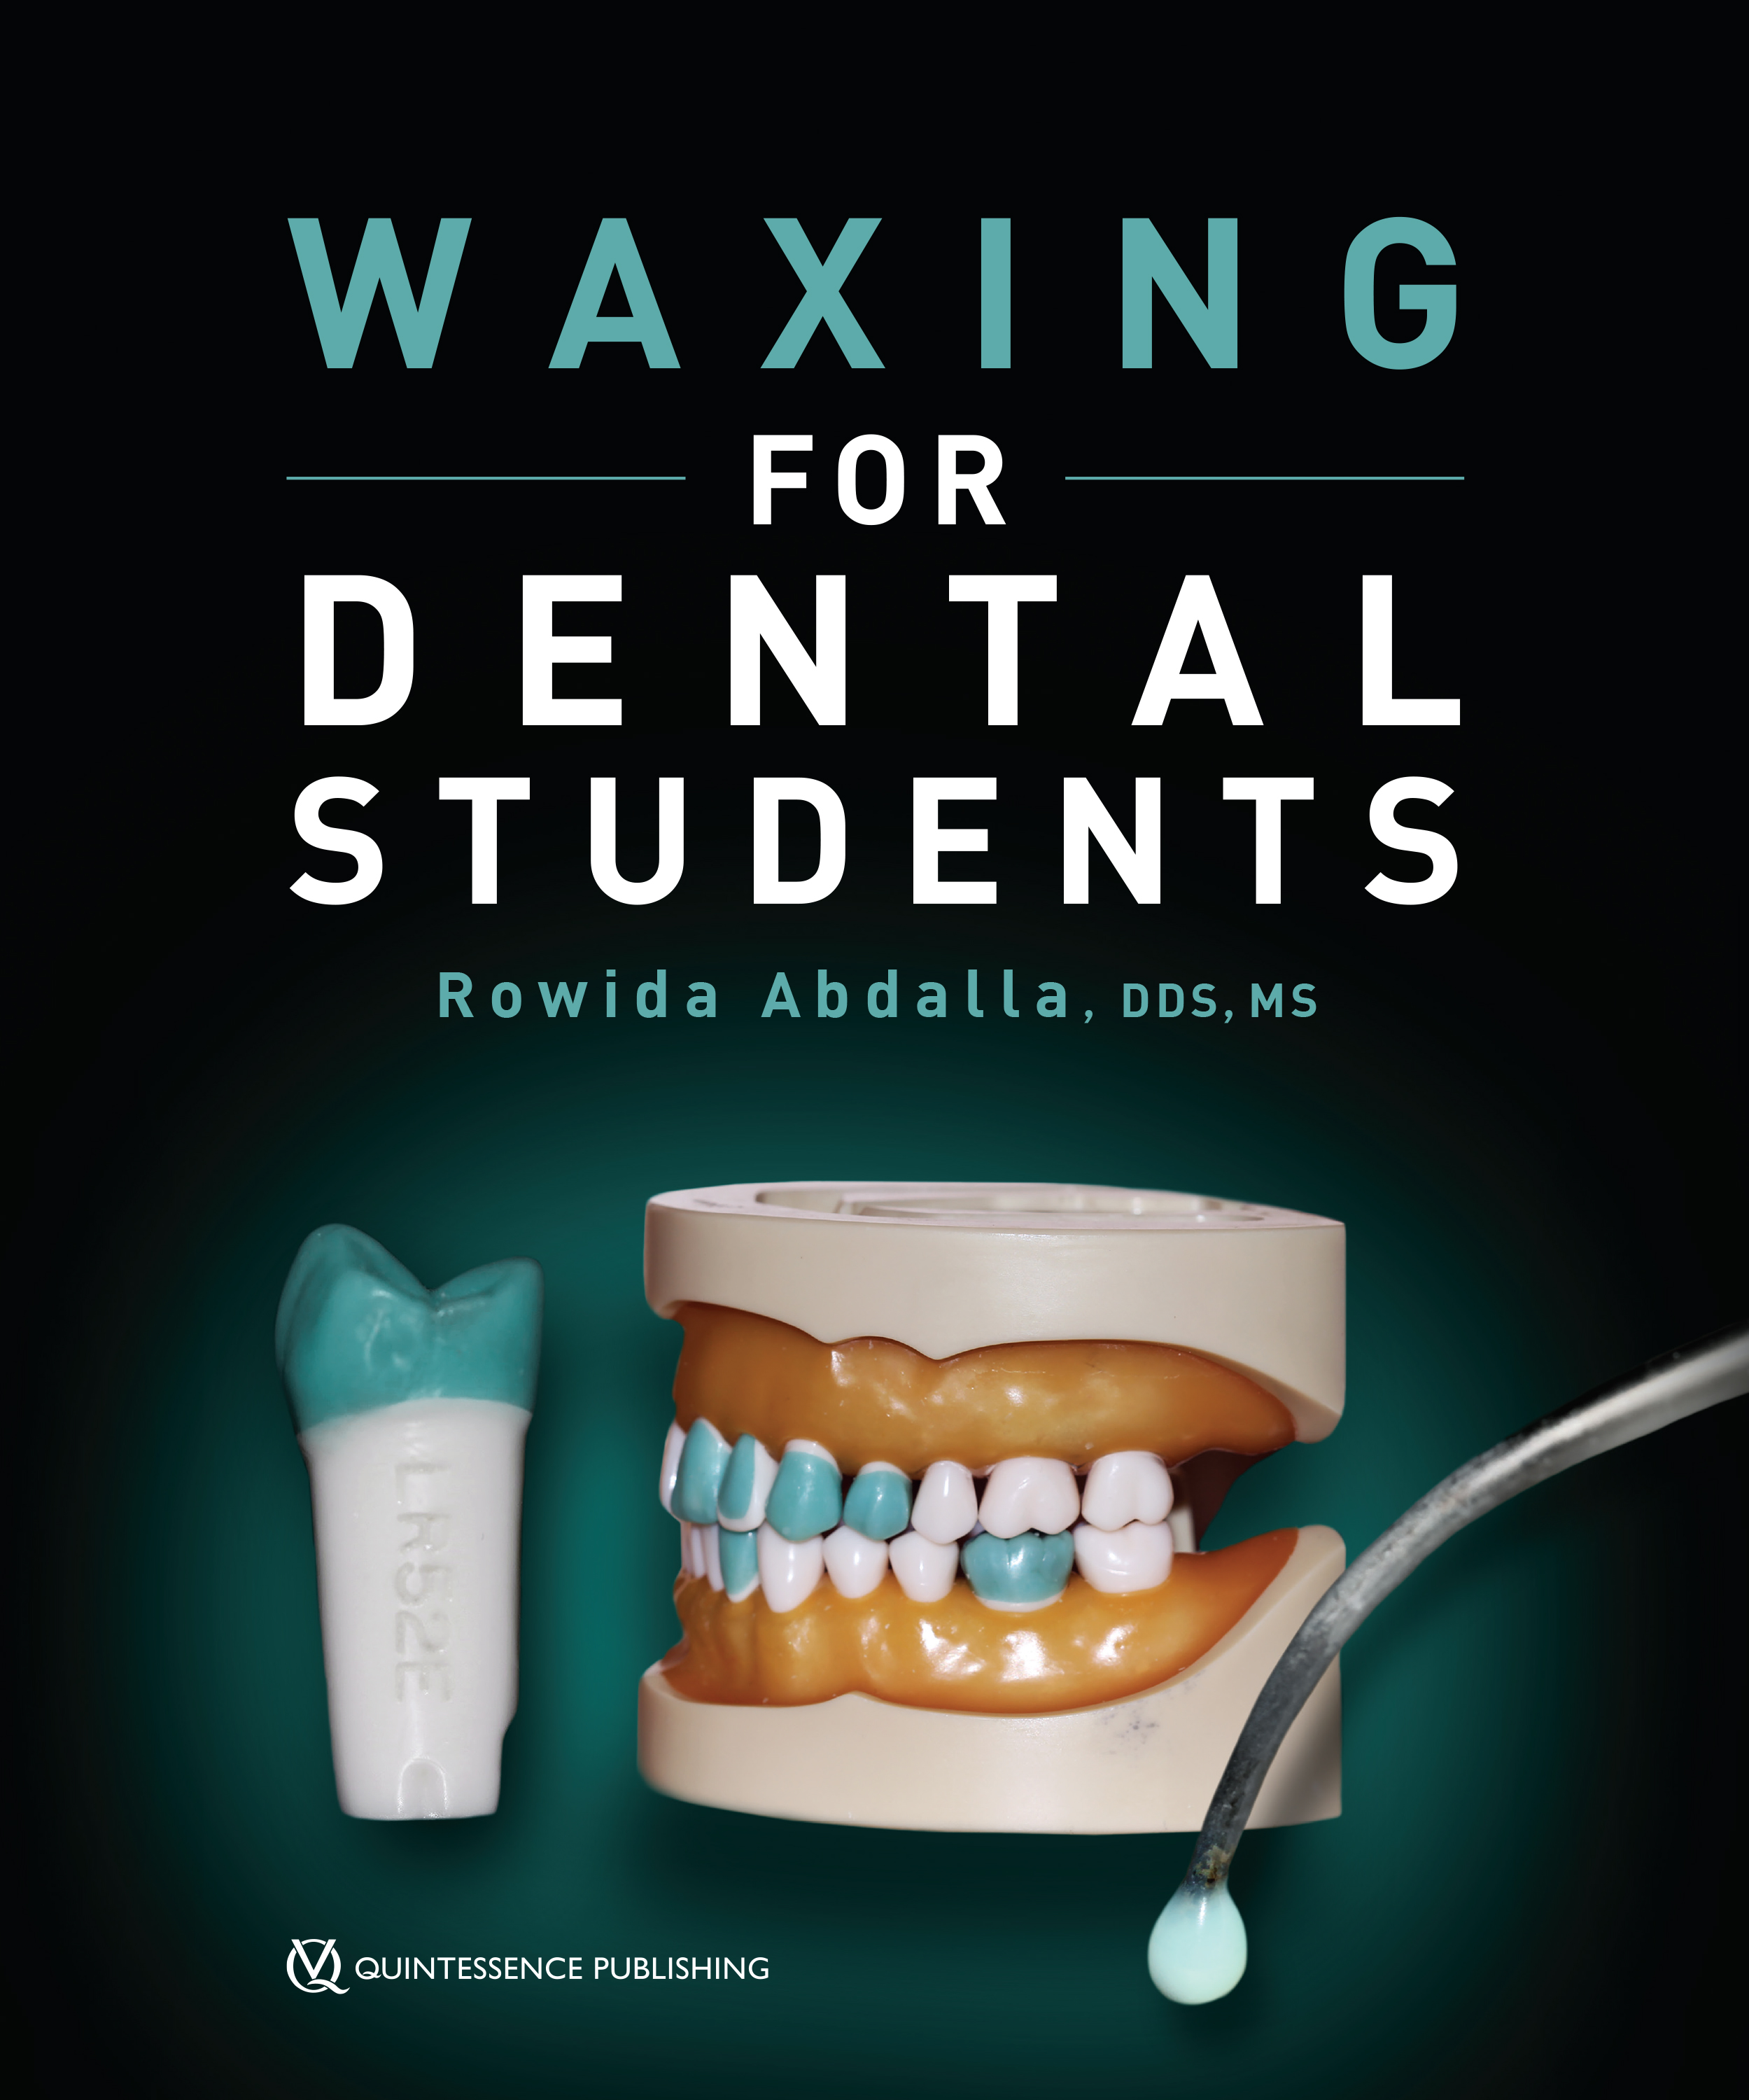
Waxing for Dental Students
Dedication
This book is dedicated to my dear father, Adel Ezzeldin, and my beautiful beloved mother, Mohga Sabry, for instilling in me the qualities that have served me throughout my life and for inspiring me to strive for excellence. And to my wonderful siblings, Dina and Amr. Your support and love are behind every success I make. I love you all so dearly.
To all my colleagues and students at the University of Kentucky College of Dentistry, this work would not have been possible without your guidance. I am truly grateful to work with you, and I am proud to be a part of the University of Kentucky.
Library of Congress Cataloging-in-Publication Data
Names: Abdalla, Rowida, author.
Title: Waxing for dental students / Rowida Abdalla.
Description: Hanover Park, IL : Quintessence Publishing Co, Inc., [2018] |
Includes bibliographical references and index.
Identifiers: LCCN 2017050843 (print) | LCCN 2017051622 (ebook) | ISBN
9780867157741 (ebook) | ISBN 9780867157734 (pbk.)
Subjects: | MESH: Crowns | Waxes | Dental Impression Technique | Dental
Prosthesis Design--methods | Tooth Crown--anatomy & histology | Outlines
Classification: LCC RK658 (ebook) | LCC RK658 (print) | NLM WU 18.2 | DDC
617.6/92--dc23
LC record available at https://lccn.loc.gov/2017050843
© 2018 Quintessence Publishing Co, Inc
Quintessence Publishing Co, Inc
4350 Chandler Drive
Hanover Park, IL 60133
www.quintpub.com
5 4 3 2 1
All rights reserved. This book or any part thereof may not be reproduced, stored in a retrieval system, or transmitted in any form or by any means, electronic, mechanical, photocopying, or otherwise, without prior written permission of the publisher.
Editor: Bryn Grisham
Design/Production: Angelina Schmelter
Graphic illustrations courtesy of Yara Mahmoud, DDS, MS.
Printed in the USA
Contents
Preface
1 Introduction to Waxing
Purpose of Waxing Teeth
Waxing Armamentarium
Setup of the Work Station
Holding the Instruments
Bunsen Burner Use
Wax-Addition Technique
Standardized Approach to Waxing Full Crowns
Rules for Developing Contours
2 Waxing Incisors
Morphology and Criteria for Maxillary Lateral Incisor Wax-Up
Introductory Waxing Exercise 1: Facial Surface of No. 10
Introductory Waxing Exercise 2: Proximal Surface of No. 7
Morphology and Criteria for Mandibular Lateral Incisor Full-Crown Wax-Up
Waxing Steps for Tooth No. 23 Full-Crown Wax-Up
Morphology and Criteria for Maxillary Central Incisor Full-Crown Wax-Up
Waxing Steps for Tooth No. 9 Full-Crown Wax-Up
3 Waxing Canines
Morphology and Criteria for Maxillary Canine Full-Crown Wax-Up
Waxing Steps for Tooth No. 11 Full-Crown Wax-Up
4 Waxing Premolars
Morphology and Criteria for Maxillary First Premolar Full-Crown Wax-Up
Introductory Waxing Exercise 1: Buccal of Tooth No. 12
Introductory Waxing Exercise 2: Mesio-Occlusal of Tooth No. 12
Waxing Steps for Tooth No. 12 Full-Crown Wax-Up
Morphology and Criteria for Mandibular Second Premolar Full-Crown Wax-Up
Waxing Steps for Tooth No. 20 Full-Crown Wax-Up
5 Waxing Molars
Morphology and Criteria for Maxillary First Molar Wax-Up
Waxing Steps for an MODL Onlay for Tooth No. 3
Morphology and Criteria for Mandibular First Molar Full-Crown Wax-Up
Waxing Steps for Full-Crown Wax-Up of Tooth No. 19
6 Evaluation Criteria for Full-Crown Wax-Ups
General Criteria
Evaluation Rubric
Evaluation Rubric for Anterior Wax-Ups
Evaluation Rubric for Posterior Wax-Ups
References
Preface
This book serves as a manual of waxing teeth for students in their first year of dental school. The manual provides a step-by-step approach to partial and full-crown wax-ups that are anatomically and morphologically correct and match the contralateral tooth on the dentoform. This book provides one or two examples of waxing every tooth type. This book can be used for waxing different teeth by following the same steps. The morphology of the teeth waxed in this guide is explained in detail as a reminder of the morphologic goal of the final wax-up. However, this manual is not a textbook on morphology.
Furthermore, the teeth in this manual are not waxed into occlusion. Waxing the occlusal/incisal morphology is done precisely and accurately to proper dimensions and contour; however, achieving occlusal contacts is not a part of this guide. There are several guides and books available for learning techniques of waxing in occlusion.
It is crucial to use this book in the sequence in which it is presented, as this sequence enables students to develop their skills gradually. Students begin with simple introductory exercises to familiarize themselves with holding instruments and handling wax. This is followed by waxing full crowns of incisors, canines, premolars, and molars. Students should evaluate their work using the evaluation rubric in the last chapter of this book.
chapter 1
Introduction to Waxing
Purpose of Waxing Teeth
Waxing teeth is mainly done by laboratory technicians to fabricate indirect restorations using the lost wax technique. When anterior restorations are planned, waxing can also be done by the dentist to achieve the best possible outcome; it can as well be an effective patient communication tool. For students, the main purpose for waxing teeth is to learn the morphology and anatomy of each individual tooth, so you are able to eventually restore teeth to the correct form.
Each tooth in the dental arch has five surfaces. Those surfaces are not flat: Every surface has convexities and concavities that are unique to its location and tooth type. Anatomical landmarks should be duplicated precisely when teeth are restored so that good esthetics and function can be achieved. Waxing is a great exercise to learn how to duplicate the correct tooth contours. In addition, the process of waxing familiarizes dental students with hand instrumentation techniques and allows them to develop skills such as finger dexterity, hand steadiness, aiming, and reaction time. These skills are essential for the high precision needed in dentistry.
Waxing Armamentarium
• Bunsen burner and tubing
• Waxing instruments: PKT1, PKT2, waxing spatula, PKT3, PKT4 (ie, Hollenback carver), and two discoid-cleoid carvers (large and small)
• Casting wax: Renfert GEO Classic mint-opaque modeling wax (75 gm)
• Dental Typodont Model D85SDP-200 (Kilgore International) with 28 teeth and soft gingiva
• Screwdriver
• Kilgore model teeth (anatomical replica)
• Kilgore A21AN-200 Series Prep Teeth
– Facial no. 10 UL29D
– Facial incisal labial lingual no. 7 UR24
– Full crown no. 23 LL21A
– Full crown no. 9 UL11C
– Full crown no. 11 UL31D
– Facial, occlusal, mesial no. 12 UL49H
– Full crown no. 12 UL42B
– Full crown no. 29 LR52E
– Occlusal, mesial, distal, lingual no. 3 UR66C
– Full crown no. 19 LL62D
• Nylon stockings
• Pencil
• Ultrafine-point black marker
• Eye shields
Setup of the Workstation
The nature of the precision and efficiency of clinical and laboratory work in dentistry mandates organization of the work area. The use of instrument setups and the availability of needed items will expedite your work and facilitate the learning process. It is expected that you will work from an organized and properly supplied work station (Fig 1-1).
Fig 1-1
Waxing instruments
Waxing instruments are divided into wax-addition and wax-carving categories1,2 (Figs 1-2 and 1-3).
Wax-addition instruments
PKT1. Used to apply wax (Fig 1-2a). The tips are round, curved, and tapered and the shank can be safely heated.
Fig 1-2a
PKT2. Also used to apply wax and featuring a pointed tip that can be used to fill in voids or discrepancies between the crest of cusp ridges and the facial and lingual axial contours and on the occlusal surface (Fig 1-2b).
Fig 1-2b
Waxing spatula. Used to add a large amount of wax in the initial step of waxing or when waxing posterior teeth (Fig 1-2c). It can also be heated and applied to smooth a large surface.
Fig 1-2c
Wax-carving instruments
These instruments are used to carve the wax after it cools. They are not meant to be heated.
PKT3. Features a pointed burnisher and is used to perfect and enhance supplemental and developmental grooves (Fig 1-3a).
Fig 1-3a
PKT4. Used to perfect the external contours and remove the excess wax at the margin (Fig 1-3b). It is also known as a Hollenback carver.
Fig 1-3b
Discoid-cleoid carver. Used to carve the lingual and triangular fossae and facial developmental depressions (Fig 1-3c). The small one can be used for anterior teeth and the large one can be used for posterior teeth.
Fig 1-3c
Holding the Instruments
The modified pen grasp is the easiest when waxing teeth and for using hand instruments in most restorative procedures (Fig 1-4a). When waxing outside the dentoform, you will hold the tooth with your nondominant hand and the instrument with your dominant hand in a modified pen grasp with your ring finger resting on the tooth peg for stability and precision (Fig 1-4b).
Fig 1-4a
Fig 1-4b
Bunsen Burner Use
A Bunsen burner is designed so that gas and airflow can be regulated separately and manually. Gas is delivered from the lab bench gas valve to the base of the Bunsen burner via a rubber tube. Gas flow is regulated with the small knob at the base of the burner, and rotating the sleeve at the base of the burner to open or close the air-inlet holes regulates airflow. When lighting a Bunsen burner, make sure the area around the burner is completely clear and that no flammable solvents are in use in the laboratory.3
Instructions for lighting the Bunsen burner3
1. Connect the tubing to the gas valve on the lab bench (Fig 1-5a).
Fig 1-5a
2. Adjust the gas regulator knob on the bottom of the Bunsen burner for a moderate flow of gas, and rotate the sleeve at the base of the burner so that airflow is almost completely closed off (Fig 1-5b).
Fig 1-5b
3. Strike a match or use a lighter and hold it close to the side of the burner, but not quite touching it (Fig 1-5c), while you turn on the bench gas valve (Fig 1-5d). Use the match/lighter to produce sparks near the top of the Bunsen burner. The lit flame will be blue and the bluer the flame, the hotter it will be. This is achieved by allowing more air into the mixture. Adjust the gas and airflow to produce a flame of the desired size that has two distinct blue regions (Fig 1-6). The hottest part of the flame is the tip of the inner dark blue cone.
Fig 1-5c
Fig 1-5d
Fig 1-6
4. To extinguish a Bunsen burner, simply turn off the gas at the bench valve.
Wax-Addition Technique
The wax-addition technique is the process used to develop a wax pattern through an organized, sequential addition of wax to shape the individual components of the desired anatomical form. Wax is added by heating the shank of the wax-addition instrument in the Bunsen flame (Fig 1-7a), touching it to the wax (Fig 1-7b), and quickly reheating the shank in the flame.1 A bead of wax will flow away from the tip of the instrument (Fig 1-7c). If the wax is too warm, it will pool and cover a large surface. This is done in the initial waxing steps when the tooth peg surface is being covered with wax or whenever the facial and lingual surfaces are waxed. To form more confined beads for building cusps or ridges, the wax should be warm enough but not too warm (Figs 1-7d to 1-7f). This requires waiting a second or two before letting the instrument touch the tooth surface.
Fig 1-7a Heat the instrument in the flame.
Fig 1-7b Touch the hot instrument to the wax.
Fig 1-7c Wax flows off the tip and forms a bead.
Fig 1-7d Touch the instrument tip to the surface to add wax beads.
Figs 1-7e and 1-7f Sequential addition of wax beads.
Standardized Approach to Waxing Full Crowns
Each tooth has well-known anatomical features that should be duplicated when the tooth is waxed or restored. However, individual variations do exist, and what is ideal may not give the best esthetic or functional results in every dentition. Therefore, the goal during waxing and restoring teeth is to match the contralateral tooth contours and achieve harmony with the adjacent and opposing teeth. One exception is the proximal contact, which should be waxed/restored to achieve proper closure and position, even if the contralateral proximal contact on your dentoform is open.
• Follow a logical series of steps using anatomical references that are present on:
– Tooth peg
– Adjacent teeth
– Contralateral tooth
– Opposing teeth
• A purely artistic approach is very difficult.
Anatomical references
• Contralateral line angles
• Contralateral point angles
• Adjacent and contralateral heights of contour
• Adjacent and contralateral proximal contact areas
• Contralateral embrasures
• Adjacent and contralateral labial and lingual surfaces
• Adjacent and contralateral marginal ridges
• Adjacent and contralateral lingual fossae
• Adjacent and contralateral cingulae
• Adjacent and contralateral incisal edges
• Adjacent and contralateral cusps
• Adjacent central grooves
• Contralateral occlusal morphology
Rules for Developing Contours
1. The facial height of contour is located in the cervical third of the anatomical crowns of all teeth4 (Fig 1-8).
Fig 1-8
2. The lingual height of contour


